HDR (High Dynamic Range) images have many uses these days. When made into a full 360-degree spherical image map, they can be used in 3D applications as a backdrop and can even light the scene instead of using 3d lights. In video games, you can even use them for real-time lighting, such as Marmoset’s Skyshop extension for Unity3d. Think of it this way- the brighter the pixel in the HDR image, the more light or reflection is given at that point. Dark pixels give no lighting or reflection.
Typically creating HDR images involves taking many photos at different exposure points and then combining the shots in an application like Photoshop. Then you have to stitch it all together and hope you don’t have to do too much clean up work on it. We’ve done it a bit different from the norm and created our HDR images purely from 3D programs, such as e-on software’s Vue and Autodesk Maya. Instead of going out in the wild and taking photos, the computers do the work. Vue, a 3D tool for rendering natural environments, has a feature to export skies in spherical HDR format. So create your sky with a few clicks, then setup your render to spit out a full 360 degree HDR image. Maya, with a little help from mental ray or Vray, can render a spherical HDR map as well. Hence the name of the bundle, Synthetik Skies.
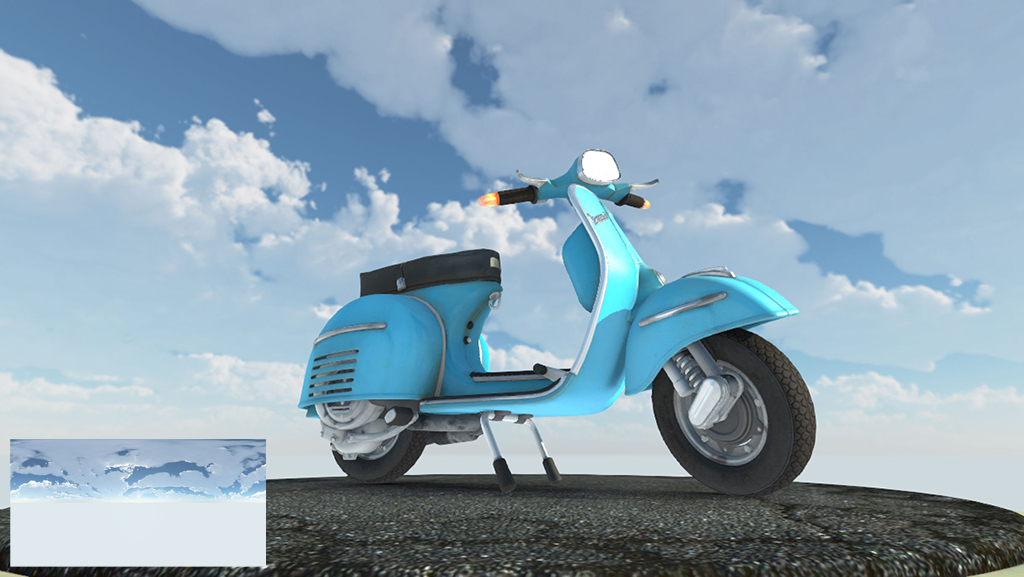
Using Marmoset’s Skyshop in Unity as our testbed, here are 3 images with different HDR maps applied (reference map shown in bottom-left of each image):
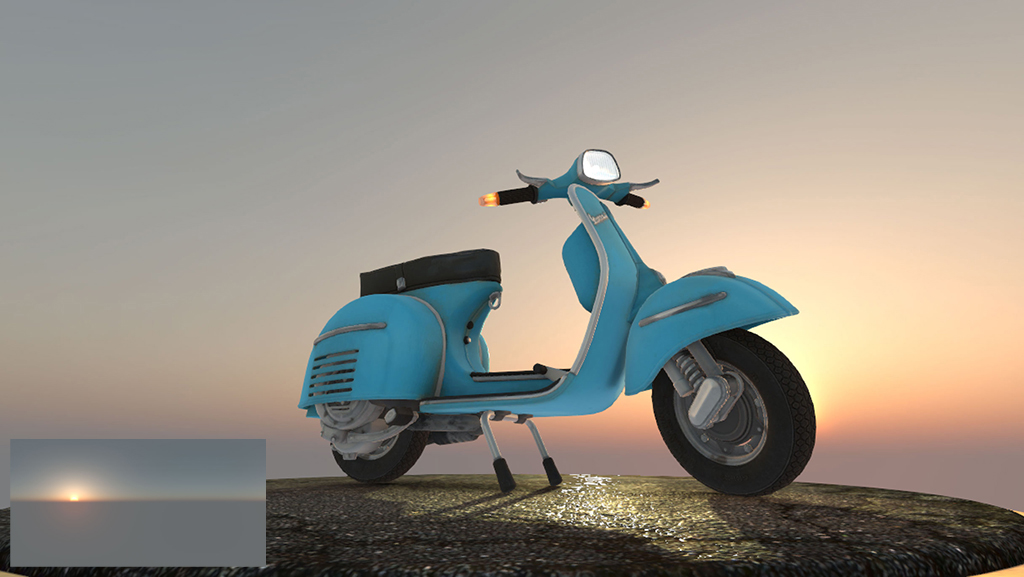
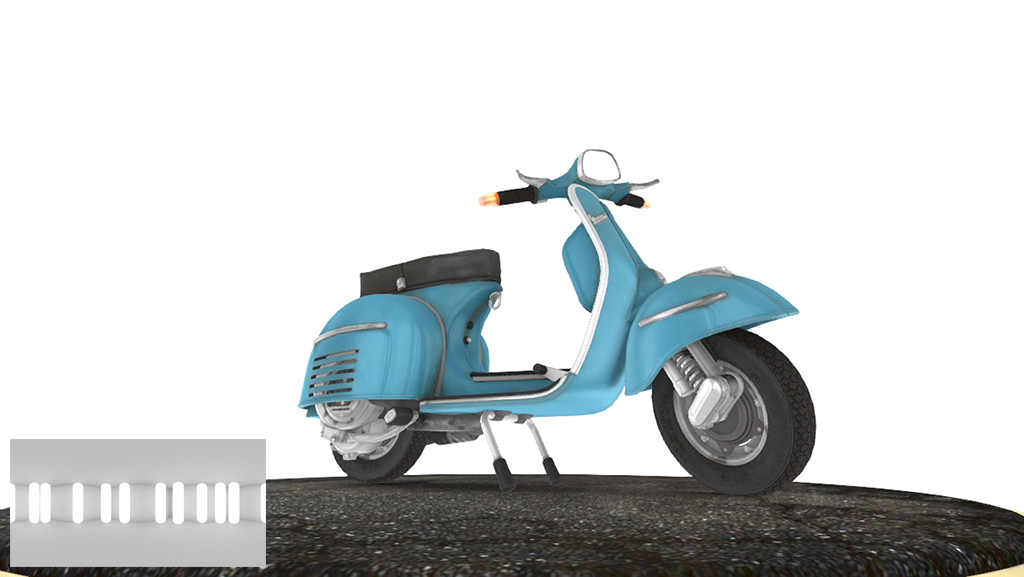
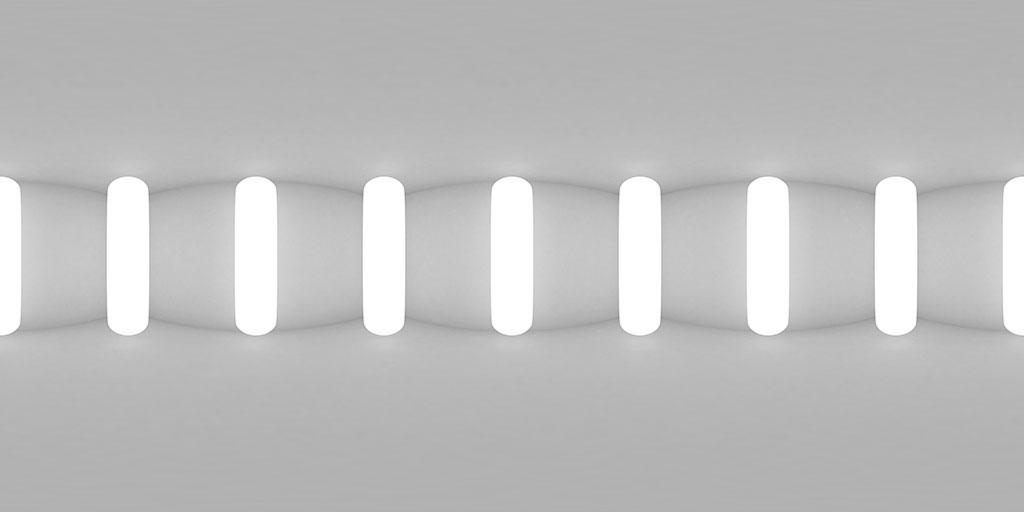
Vue was used to render the typical sky images in the pack, but sometimes you may not want a sky. You may want just a solid background, but you still need your object to reflect something. Think about it- chrome isn’t chrome if it’s not reflecting something. So Maya was used to render simple shapes, in our case, white illuminated capsules in a square room. This makes for nice reflections on our vespa. This technique is pretty common and popular when showing off new products, such as a watch, tablet, or smartphone. We’ll follow-up with a tutorial on how that’s accomplished later.
Here’s the best part: They’re FREE. Have at them for commercial and non-commercial use. Use them in your games, animations, product visualization- whatever you want. You’re welcome.
In the package you’ll find:
- 8 Spherical High Dynamic Range images in .hdr format (4096 x 2048)
- 8 JPG preview images (1024×512)
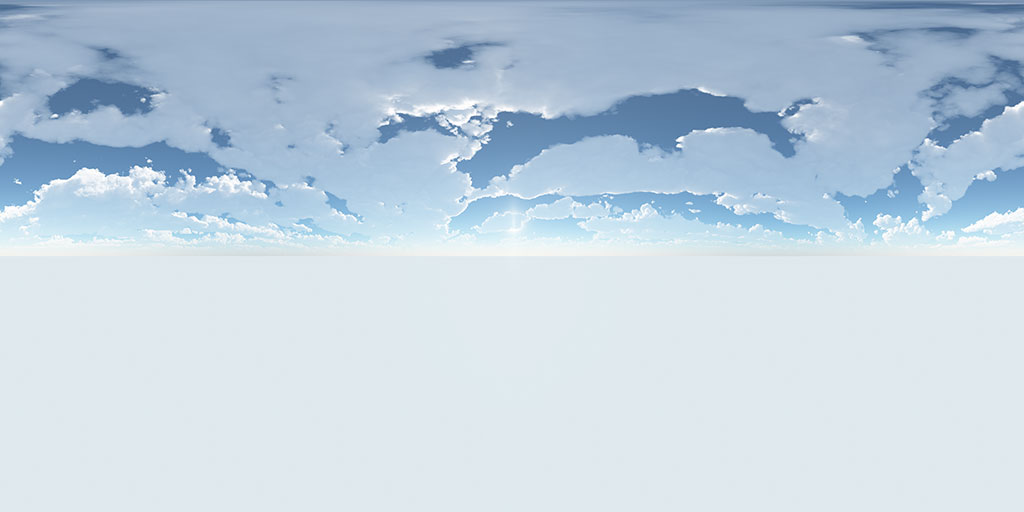
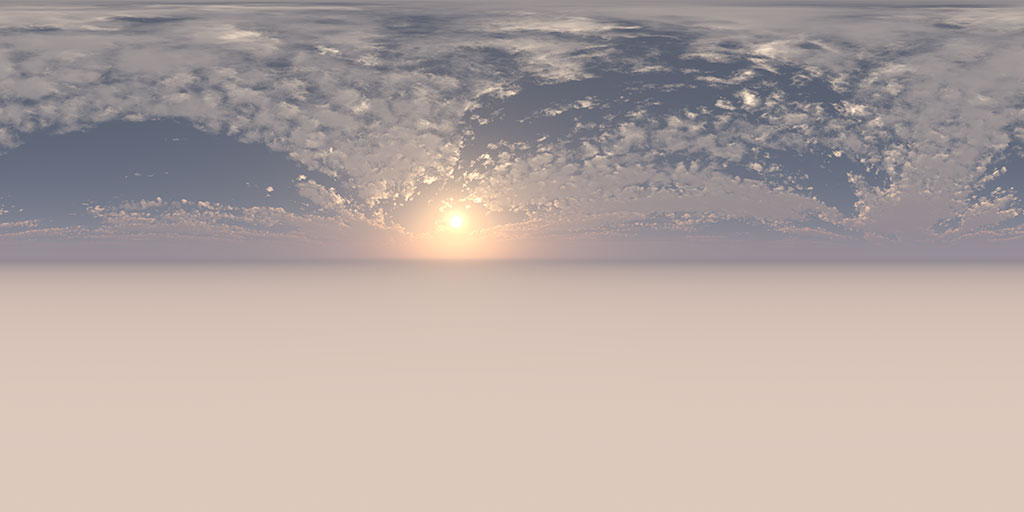
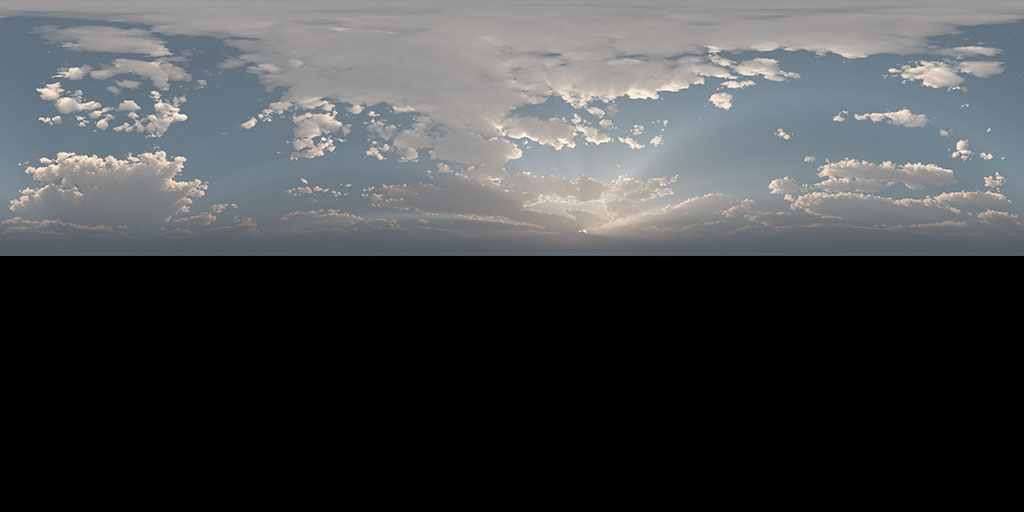
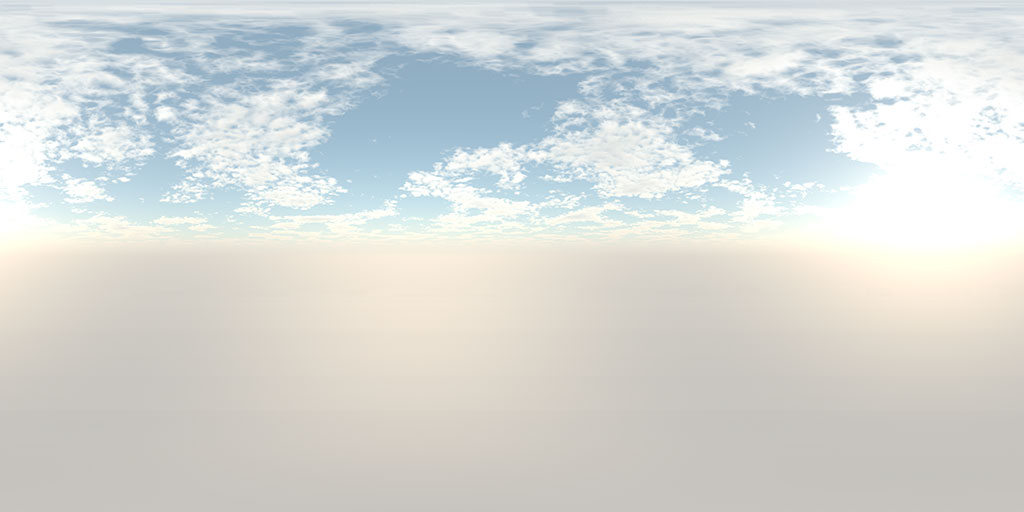
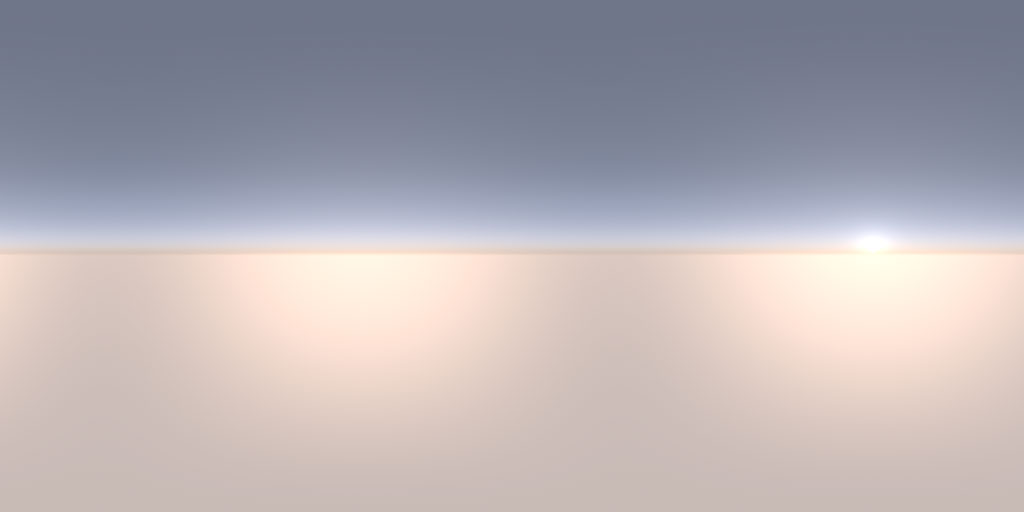
Here’s a preview of the 8 images in the pack. Keep scrolling for the download. (Yes, we’re gonna make you work for the freebies.)